This guide walks you through the process of signing up for Shopify and understanding its dashboard. It helps you navigate each section and configure your store. You learn how to create a trial account, pick a plan, set up your products, organize collections, manage customers, and fine-tune your store’s branding. You also learn about connecting domains, setting policies, and adding apps. By following these steps, you prepare a solid foundation for your online business.
Starting Your Shopify Account
Go to Shopify’s Website:
Open your web browser and visit shopify.com.
On the homepage, click Start Free Trial or a similar prompt. Shopify often offers a free trial period, followed by a discounted first month. For example, you might see “3 days free, then 1 month for $1.” This deal can change, so follow what you see.
Answer Basic Questions:
Shopify asks what you plan to sell. Maybe you sell products you make yourself or dropship items. Pick the option that fits you best.
Enter your location if asked. For example, if you ship products from Canada, select Canada.

Sign Up with Your Email:
Once you fill the initial info, you create an account with your email and password. After this step, Shopify sets up your trial store.
Access Your Dashboard:
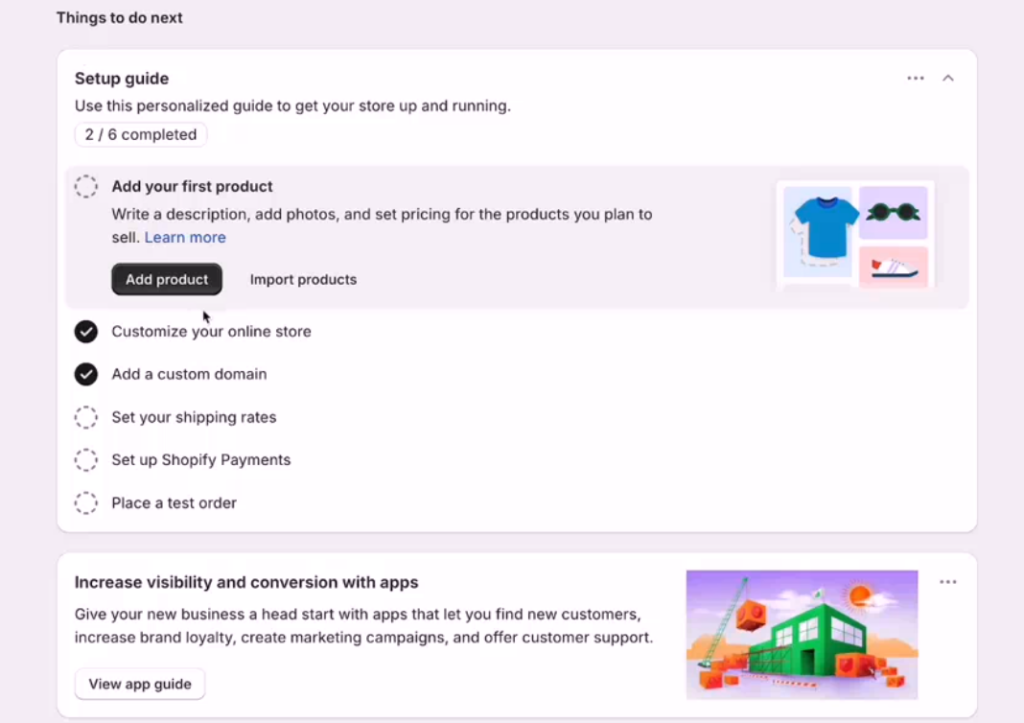
After signing up, you land on your store’s dashboard. The dashboard shows tasks like customizing your store, adding a domain, setting up shipping rates, and activating Shopify payments. Think of it as a checklist to launch your store.
Understanding the Dashboard
Home Tab:
The homepage suggests what to do next. Initially, you might see prompts to customize your store’s theme, connect a domain, set up shipping, and configure payments. In the future, the Home tab will show your sales, visitor counts, and analytics. It becomes your main snapshot once your store is live.
Orders Tab:
Click Orders to view all incoming orders once you start selling. Initially, this page is empty. When orders arrive, they appear here. You can filter them, see details, and fulfill them.
Clicking Create Order lets you manually create an order for a customer. You might use this if someone requests a special invoice.
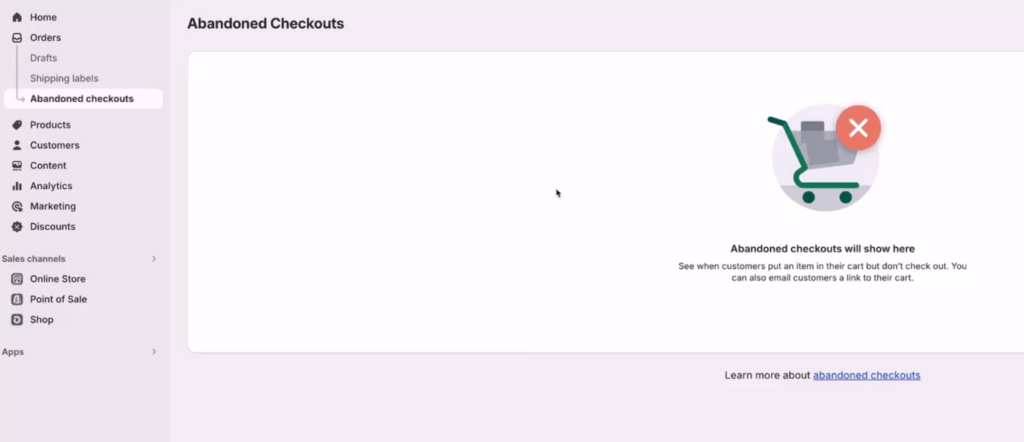
Abandoned Checkouts live under Orders as well. If a customer adds items to the cart but does not complete the purchase, you find that record here. You can follow up with them using built-in emails or a marketing tool.
Products Tab:
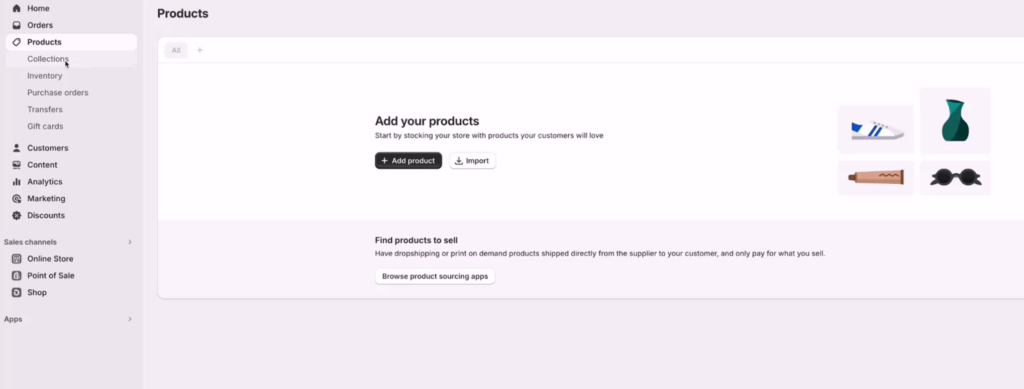
The Products section is where you add items you plan to sell. You can list each product with title, description, price, images, and variants.
Collections help group products. For example, “T-shirts,” “Hoodies,” “Sweaters” are different collections. Customers see these as categories to browse.
Inventory tracks stock levels. POs (Purchase Orders) and Transfers manage stock movement in and out of warehouses. Gift Cards let you create and manage gift card codes.
Customers Tab:
The Customers page stores customer information. When someone purchases, their details enter your customer list. You can also import old customers or add new ones manually.
You see segments like:
- “Abandoned Checkouts (last 30 days)”
- “Email Subscribers”
- “Customers Who Purchased Once”
- “Customers Who Purchased More than Once”
These segments help you target marketing campaigns. For example, people who purchased once are warm leads. People who abandoned checkout might need a follow-up email.

Content and Media:
Content or Files sections let you upload and store images or other media. You use these files in products, themes, or blog posts.
Analytics Tab:
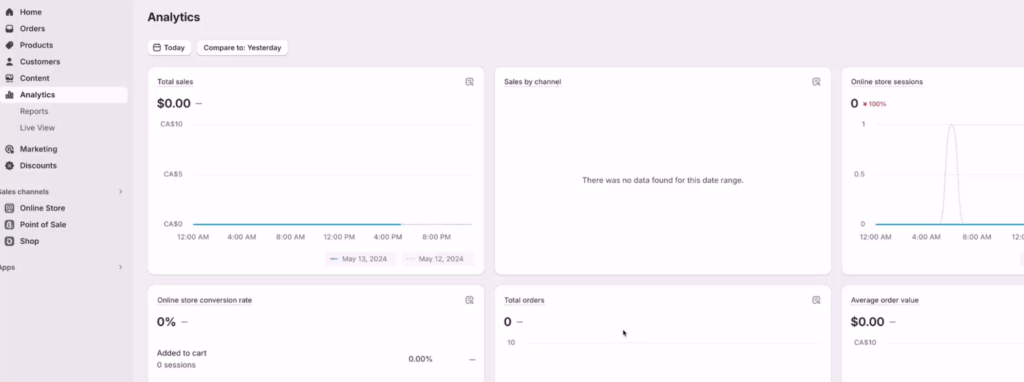
Analytics shows data about store performance:
- How many people added to cart
- How many reached checkout
- Total orders
- Returning customer rate
- Top selling products
You can adjust date ranges and compare periods. Reports provide more detailed breakdowns. Live View shows real-time visitors and sales on your store’s map, useful during big sales events.
Marketing Tab:
Marketing lets you create simple campaigns and email customers directly from Shopify. Later, you might switch to a more powerful tool like Klaviyo for advanced email and SMS marketing. For now, Shopify’s built-in marketing is fine.
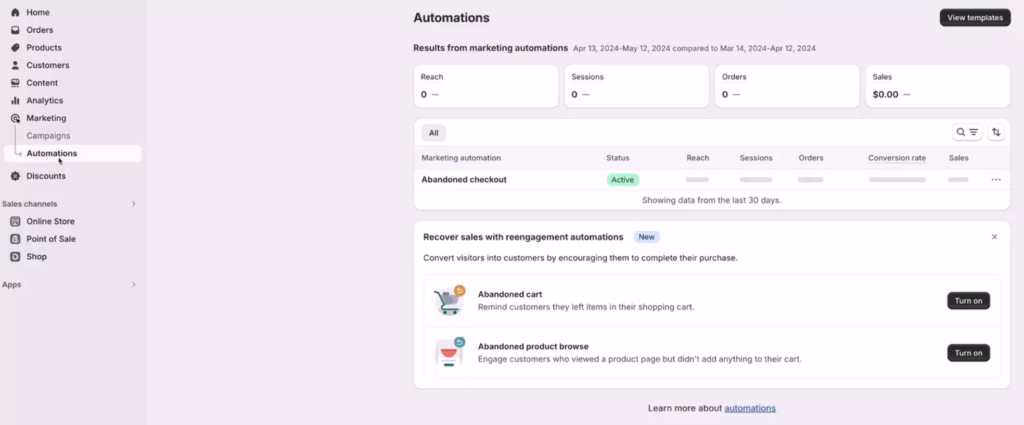
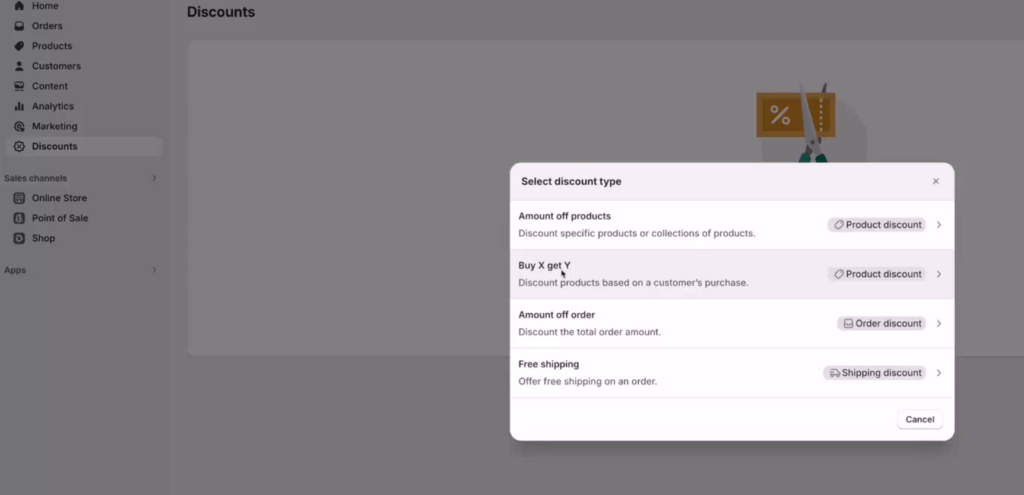
Discounts Tab:
Discounts let you create codes or automatic discounts. You can set:
- Percentage off an order
- Amount off a product
- Free shipping
- Buy X get Y deals
Creating a discount code like “FREESHIP” encourages customers to spend more to qualify for free shipping or other offers.
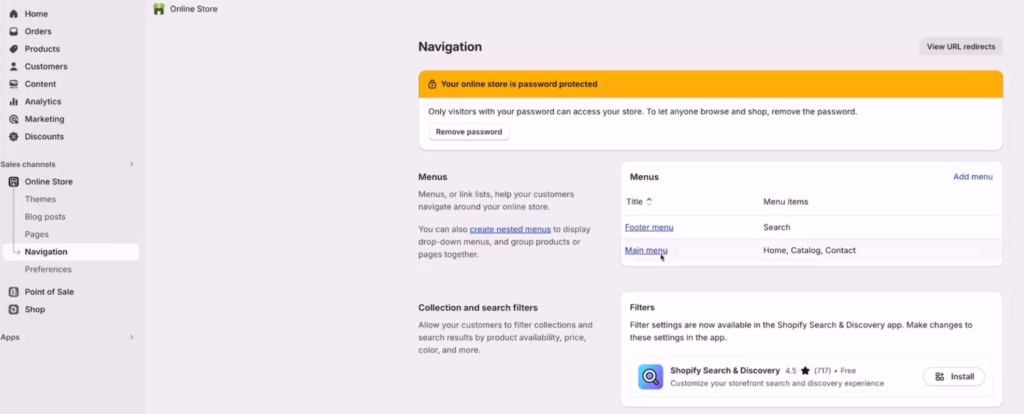
Online Store Tab:
Online Store is where you manage your store’s appearance. Here you find:
-
- Themes: Pick or upload a theme. We will later use a custom theme called “Conversion Max” or another suitable one.
- Blog Posts: You can create posts for content marketing.
- Pages: Manage standard pages like “Contact,” “About Us.”
- Navigation: Control your menu structure. Adjust your main menu and footer menu. Add or remove links.
- Preferences: Set your store title, meta descriptions, and social sharing images. You can also integrate Google Analytics and Facebook Pixel here.
Point of Sale (POS) Tab:
If you have a physical store, POS integrates online and offline sales. If not, you can ignore it.
Shop Channel:
This is an app-based channel that can let customers track orders or browse products through the Shop app. You can connect your brand’s assets here.
Apps Tab:
The Apps tab lets you install third-party apps to enhance your store. Examples:
- Klaviyo for advanced email and SMS marketing
- Page builders
- Review apps
- Currency converters
Apps help you add features Shopify does not have by default.
Settings Overview
In the lower-left corner, click Settings. A panel opens with many options.
General Settings:
Set your store name. Choose your currency. For example, if you are in Canada, you can still charge in USD. Many store owners prefer USD for international appeal.
Users and Permissions:
Add staff accounts if you have team members helping you.
Billing:
See your Shopify plan charges and app fees. Update payment methods here.
Payments:
Connect Shopify Payments or PayPal. Enter your bank details to receive payouts. This step ensures you get paid correctly.
Checkout:
Customize how the checkout page looks. Decide if customers can check out as guests or must create an account. Add options for order notes.
Shipping and Delivery:
Set shipping rates by country, weight, or price. You can create rules like “Free Shipping for Orders Over $300.”
Taxes and Duties:
Configure tax rules based on your region. If needed, consult a tax professional.
Domains:
Buy a custom domain right from Shopify or connect one you own. For example, you can register “yourbrand.com” and connect it to your store in minutes.
Brand and Policy Sections:
Brand: Add your brand’s logo, colors, and cover images. Ensure logos are the correct size and format. You can use tools like Canva or Photoshop to create and resize logos.
Policies: Add return policies, terms of service, privacy policies. You can draft these yourself or use ChatGPT or a lawyer’s help. Make sure to review and customize them.
Creating a Logo and Visuals
Canva or Photoshop:
If you cannot afford Photoshop, use Canva. Create a canvas of about 500×500 or 1250×1250 pixels for your logo. Upload your existing logo or design a new one. Ensure you have a clear version in both black and white. Transparent PNG is ideal.
Upload the Logo to Shopify:
Go to Settings > Brand and upload your logo. Set your brand colors. Pick a primary color (e.g., black), a contrast color (e.g., white), and possibly a secondary accent color.
No Cover Image Yet?:
You can skip the cover image for now. Later, when you have a product shoot or a nice lifestyle image, add it here.
Add Social Links:
Under Brand, add your Instagram or other social handles. Save your changes.
Setting Policies
Terms of Service, Privacy Policy, Refunds:
If you do not have custom policies, you can use an existing template and modify it. ChatGPT can help rewrite templates with your brand name. Always read them carefully.
Paste your final versions into Settings > Policies.
Shipping Policy:
Mention your free shipping threshold or shipping rates. Add it to your Shipping policy page or mention it in product pages. Make sure everything is consistent.
Conclusion
By following these steps, you sign up for Shopify, understand the dashboard, customize store settings, add branding elements, set up policies, and start adding products. You learn where to manage orders, how to analyze customer segments, and how to configure key store features. After this foundational work, you can refine your store’s appearance, add marketing campaigns, improve navigation, and scale your business confidently